Daniel-S-Gesture-Controlled-Car
This is my project page for the Gesture Controlled Car I built
Project maintained by DudBoii123 Hosted on GitHub Pages — Theme by mattgraham
Gesture Controlled Car
In this project, I make an RC Gesture Controlled Car. The car is controlled using a glove on my hand and can be controlled to go forward, backward, and turn left and right. It also has an ultrasonic sensor on it, allowing it to take measurements and display them to an lcd screen.
| Engineer | School | Area of Interest | Grade |
|---|---|---|---|
| Daniel Saptari | Lexington High School | Engineering | Incoming Freshman |
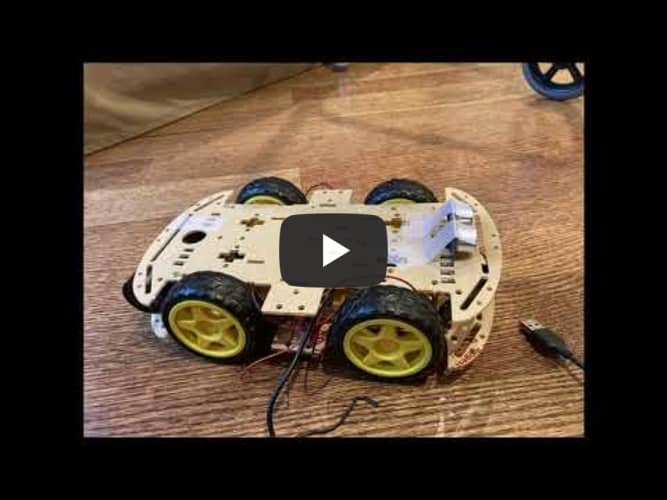
Demo Night Presentation
 In the end, I really enjoyed working on this project, and it made me realize how fun the coding part of these kinds of projects can be, as I used to only enjoy the hardware side of it. I really enjoyed working with the accelerometer and the if statements, and though getting the TwoWayESP to work was a challenge, it was rewarding to finally get it to work.
Final Milestone
This is my third and final milestone, which was finishing my project by adding code for the motors into the code for the car ESP32, and attatching the glove ESP and the accelerometer to the glove. This seems simple enough, as it is mostly just copying and pasting certain parts of my milestone 1 code to the milestone 2 code for the receiving ESP, I did have a bug that took a pretty long time to solve. For some reason, the milestone 1 code was working, but as soon as we transferred it into the final code, it stopped working. After spending a lot of time troubleshooting, we found out that in one of the lines where the duty cycle should be written, I wrote HIGH, thinking that HIGH meant the high end of the range the duty cycle could be, which is 0 to 255, while HIGH actually meant 1. The materials I used for this milestone was just the glove to attach the ESP32 and the gyro/accelerometer to, as this milestone was both short, and mostly involved coding.
 Receiving ESP (Car) updated if statements:
if(TwoWayESP::Available()) {
    String message = TwoWayESP::GetString();
    Serial.println(message);
    if (message == "Forwar"){
      Serial.println("Forward");
      ledcWrite(0,255);
      ledcWrite(1,255);
      digitalWrite(motor1Pin1,LOW);
      digitalWrite(motor1Pin2,HIGH);
      digitalWrite(motor2Pin1,LOW);
      digitalWrite(motor2Pin2,HIGH);
      delay(1000);
    }

    else if (message == "Backwar") {
      Serial.println("Backward");
      ledcWrite(0,255);
      ledcWrite(1,255);
      digitalWrite(motor1Pin1,HIGH);
      digitalWrite(motor1Pin2,LOW);
      digitalWrite(motor2Pin1,HIGH);
      digitalWrite(motor2Pin2,LOW);
    }
    else if (message == "Lef") {
      Serial.println ("Left");
      ledcWrite(pwmChannel1,255);
      ledcWrite(pwmChannel2,255);
      digitalWrite(motor1Pin1,HIGH);
      digitalWrite(motor1Pin2,LOW);
      digitalWrite(motor2Pin1,LOW);
      digitalWrite(motor2Pin2,HIGH);
    }
    else if (message == "Righ") {
      Serial.println("Right");
      digitalWrite(motor1Pin1,LOW);
      digitalWrite(motor1Pin2,HIGH);
      digitalWrite(motor2Pin1,HIGH);
      digitalWrite(motor2Pin2,LOW);
      ledcWrite(pwmChannel1,255);
      ledcWrite(pwmChannel2,255);
    }
    else if (message == "Sto"){
      Serial.println("Stop");
      ledcWrite(pwmChannel1,255);
      ledcWrite(pwmChannel2,255);
      digitalWrite(motor1Pin1,LOW);
      digitalWrite(motor1Pin2,LOW);
      digitalWrite(motor2Pin1,LOW);
      digitalWrite(motor2Pin2,LOW);
    }
    else{
      Serial.println("Error");
    }
  }
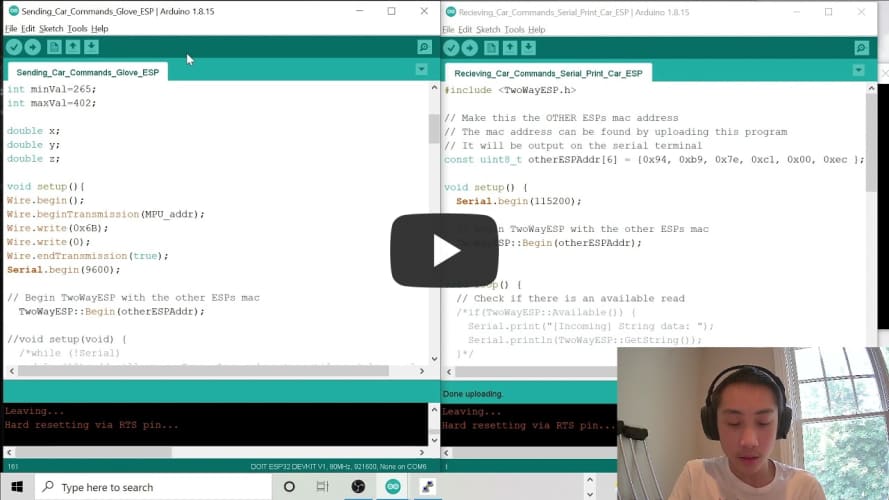
Second Milestone
My second milestone was getting readings from the accelerometer/gyroscope, connecting the two ESP32s, and having one ESP32 display what the car should be doing on the serial monitor from the accelerometer input on a remote ESP32. The accelerometer is able to measure X, Y, and Z acceleration forces, while the gyroscope measures rotational velocity. For my project I need to know the 3D orientation of the accelerometer/gyroscope. To get this information I just needed to combine the data from the accelerometer and the gyroscope. The code for this was uploaded to the ESP that would be going on to the glove in the end. After this, I set up if statements where if the angle of a certain axis is within a certain range, it would print what the car should be doing, into the serial monitor. This code was also uploaded to the ESP on the glove. After testing that this worked, I worked to get the wireless ESP connection to work, using the TwoWayESP library. I had a few minor bugs during this process, one of which the message the car ESP was recieving was missing the last letter, though they were all solved fairly easily with some time troubleshooting. Next, I added code to the if statements on the glove ESP. This was the code to send what the car should be doing to the ESP on the car. Next I set up if statements in the code for the car ESP that would print what the car would do based on the messages it received from the glove ESP. After this my 2nd milestone was finished, as now I could tilt the glove ESP, have it show what it is sending, and have the car ESP print what the car should do. For this milestone I used a MPU6050 Gyro/Accelerometer, an ESP32, four jumper wires, and two usb to micro-usb cables. I didn’t need many materials becaause this milestone mostly involved coding.
 Schematics:

 Code for the Sending ESP (Glove):
#include <Adafruit_MPU6050.h>
#include <Adafruit_Sensor.h>
#include <Wire.h>
#include <TwoWayESP.h>

// Make this the OTHER ESPs mac address
// The mac address can be found by uploading this program
// It will be output on the serial terminal
const uint8_t otherESPAddr[6] = {0x94, 0xb9, 0x7e, 0xc1, 0x00, 0xec };

//Adafruit_MPU6050 mpu;

const int MPU_addr=0x68;
int16_t AcX,AcY,AcZ,Tmp,GyX,GyY,GyZ;

int minVal=265;
int maxVal=402;

double x;
double y;
double z;

void setup(){
Wire.begin();
Wire.beginTransmission(MPU_addr);
Wire.write(0x6B);
Wire.write(0);
Wire.endTransmission(true);
Serial.begin(9600);

// Begin TwoWayESP with the other ESPs mac
  TwoWayESP::Begin(otherESPAddr);
}

void loop() {

  /* Get new sensor events with the readings */
  /*sensors_event_t a, g, temp;
  mpu.getEvent(&a, &g, &temp);

  if (g.gyro.y >= 1 && g.gyro.y <= 5) {
    Serial.println("Forwards");
  }
  Serial.println(a.acceleration.y);
  delay(5);*/
  Wire.beginTransmission(MPU_addr);
  Wire.write(0x3B);
  Wire.endTransmission(false);
  Wire.requestFrom(MPU_addr,14,true);
  AcX=Wire.read()<<8|Wire.read();
  AcY=Wire.read()<<8|Wire.read();
  AcZ=Wire.read()<<8|Wire.read();
  int xAng = map(AcX,minVal,maxVal,-90,90);
  int yAng = map(AcY,minVal,maxVal,-90,90);
  int zAng = map(AcZ,minVal,maxVal,-90,90);

  x= RAD_TO_DEG * (atan2(-yAng, -zAng)+PI);
  y= RAD_TO_DEG * (atan2(-xAng, -zAng)+PI);
  z= RAD_TO_DEG * (atan2(-yAng, -xAng)+PI);

   if (y >= 300 && y <= 340) {
    // Output send string to serial terminal
    String send = "Forward";
    // Send some string to the other ESP
    TwoWayESP::SendString(send);
    Serial.println(send);
  }
  else if (y <= 60 && y >= 20) {
    String send = "Backward";
    TwoWayESP::SendString(send);
    Serial.println(send);
  }
  else if (x >= 300 && x <= 340) {
    String send = "Left";
    TwoWayESP::SendString(send);
    Serial.println(send);
  }
  else if (x <= 60 && x >= 20) {
    String send = "Right";
    TwoWayESP::SendString(send);
    Serial.println(send);
  }
  else{
    String send = "Stop";
    TwoWayESP::SendString(send);
    Serial.println(send);
  }
  delay (100);
}
Code for recieving ESP (Car):
#include <TwoWayESP.h>

// Make this the OTHER ESPs mac address
// The mac address can be found by uploading this program
// It will be output on the serial terminal
const uint8_t otherESPAddr[6] = {0x94, 0xb9, 0x7e, 0xc1, 0x00, 0xec };

void setup() {
  Serial.begin(115200);

  // Begin TwoWayESP with the other ESPs mac
  TwoWayESP::Begin(otherESPAddr);
}

void loop() {
  // Check if there is an available read

  if(TwoWayESP::Available()) {
    String message = TwoWayESP::GetString();
    //Serial.println(message);
    if (message == "Forwar"){
      Serial.println("Forward");
    }
  else if (message == "Backwar") {
    Serial.println("Backward");
  }
  else if (message == "Lef") {
    Serial.println ("Left");
  }
  else if (message == "Righ") {
    Serial.println("Right");
  }
  else if (message == "Sto"){
    Serial.println("Stop");
  }
  else{
    Serial.println("Error");
  }
  }
  // Output send string to serial terminal
  //String send = "I am sending data to another ESP!";
  //Serial.print("[Outgoing] String data: ");
  //Serial.println(send);

  // Send some string to the other ESP
  //TwoWayESP::SendString(send);

  // Delay to not overrun the memory limit
  delay(100);
}
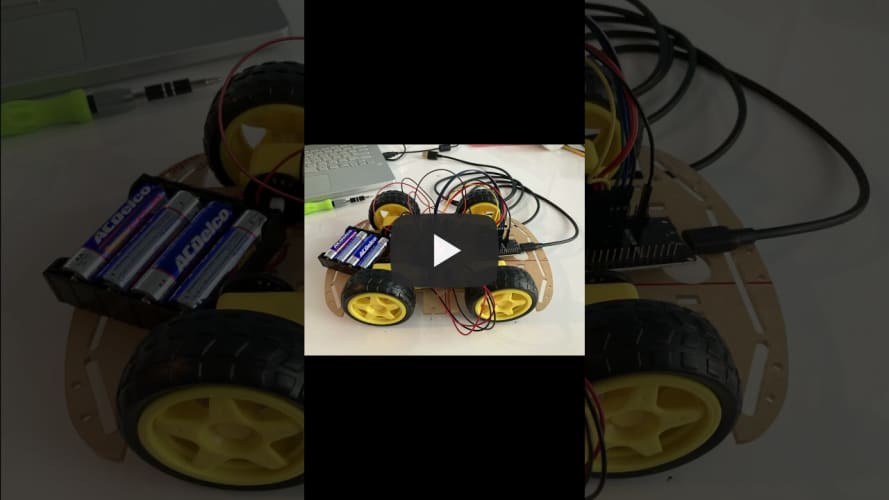
First Milestone
My first milestone was getting the car to be able to move. This involved learning how the ESP32 works, getting it to work with the L298N motor driver, building the car chassis, and mounting and wiring up the 4 DC motors. I also wrote the code for the ESP32, motor driver, and motors to work. The ESP32 controls what the motor driver does through 6 wires/pins. There are three for each pair of motors (left and right). Each set of three pins has one enable terminal, and two input pins. The enable pin determines whether or not the motor is ready to be controlled, depending on whether the signal is HIGH or LOW. It can also be used with a pwm signal to control the speed of the motors. The input pins determine the direction the motor spins. One input pin should be HIGH, while the other should be LOW. The motor direction is determined depending on which input pin is HIGH and which is LOW. The way the motor driver is able to control the motor direction like this is because it is an H-Bridge. An H-Bridge is a circuit that has four switches that control the flow of current to a load. In this case the load is the motor. I am able to control which pins are HIGH, LOW, or using a pwm signal through code being uploaded to the ESP32. One issue I had was figuring out how to code for the use of the pwm signal, and also how to control the direction while using that signal. In the end, the parts I used for this milestone were an ESP32, one L298N motor driver, 4 DC motors, 4 AA batteries, the battery pack, the car chassis kit, some jumper wires, a usb to micro-usb cable, and a screwdriver.
 Schematics:

 My Code:
//Define the GPIO pins the motor input and enable pins are connected to
int motor1Pin1 = 27;
int motor1Pin2 = 26;
int enable1Pin = 14;
int motor2Pin1 = 25;
int motor2Pin2 = 33;
int enable2Pin = 32;
//Set pwm properties to control speed
const byte pwmChannel1 = 0;
const byte pwmChannel2 = 1;
const byte freq = 30000;
const byte resolution = 8;
int dutyCycle = 200;

void setup() {
//Set pins as outputs
pinMode(motor1Pin1,OUTPUT);
pinMode(motor1Pin2,OUTPUT);
pinMode(enable1Pin,OUTPUT);
pinMode(motor2Pin1,OUTPUT);
pinMode(motor2Pin2,OUTPUT);
pinMode(enable2Pin,OUTPUT);
//Configure pwm functionalities
ledcSetup(pwmChannel1,freq,resolution);
ledcSetup(pwmChannel2,freq,resolution);
//attachh the pwm channel to the GPIO to be controlled
ledcAttachPin(enable1Pin,pwmChannel1);
ledcAttachPin(enable2Pin,pwmChannel2);
//Set up serial monitor
Serial.begin(9600);
Serial.print("Motor Test Beginning...");
}

void loop() {
Serial.print("Motor Test Beginning...");
delay(200);
//Motors spin backwards at full speed
Serial.print("Attempting Motor 1 Full Speed Backward Rotation...");
delay(100);
digitalWrite(motor1Pin1,HIGH);
digitalWrite(motor1Pin2,LOW);
digitalWrite(motor2Pin1,HIGH);
digitalWrite(motor2Pin2,LOW);
delay(2000);

//Stop motor
Serial.print("Motor Stopped");
digitalWrite(motor1Pin1,LOW);
digitalWrite(motor1Pin2,LOW);
digitalWrite(motor2Pin1,LOW);
digitalWrite(motor2Pin2,LOW);
delay(2000);

//Motors spin forward at full speed
Serial.print("Attempting Motor 1 Full Speed Forward Rotation...");
delay(100);
digitalWrite(motor1Pin1,LOW);
digitalWrite(motor1Pin2,HIGH);
digitalWrite(motor2Pin1,LOW);
digitalWrite(motor2Pin2,HIGH);
delay(2000);

Serial.print("Motor Stopped");
digitalWrite(motor1Pin1,LOW);
digitalWrite(motor1Pin2,LOW);
digitalWrite(motor2Pin1,LOW);
digitalWrite(motor2Pin2,LOW);
delay(2000);

//Use pwm signal to make motors speed up to full speed
Serial.print("Attempting Motor 1 Forward Speed Up...");
digitalWrite(motor1Pin1,LOW);
digitalWrite(motor1Pin2,HIGH);
digitalWrite(motor2Pin1,LOW);
digitalWrite(motor2Pin2,HIGH);
 for (int i = 0; i < 256; i++) {
   Serial.println(i);
   ledcWrite(0,i);
   ledcWrite(1,i);
   delay(25);
   }

//Stop motors
Serial.print("Motor Stopped");
digitalWrite(motor1Pin1,LOW);
digitalWrite(motor1Pin2,LOW);
digitalWrite(motor2Pin1,LOW);
digitalWrite(motor2Pin2,LOW);
delay(2000);
}